
If you’ve been in the London Drugs photo department any time in the last year or so, you may have seen one of these:
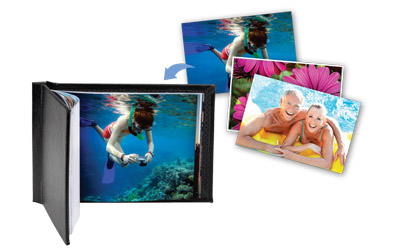
It’s basically a small photo album that holds up to 25 4×6 prints and the photos are bound into the spine. It takes 5 minutes to make & it’s only $4.99. But…I thought it could use a little something so I decided to give it a boost!
I took a trip to Michaels which is almost always more expensive than I anticipate due to the large quantity of ~things~ I didn’t know existed that I suddenly find out I NEED. And I discovered something called Washi Tape. Oh Washi! Where have you been all my life?!?! Basically this stuff is decorative masking tape. It comes in a hundred billion colors and designs and can turn an average craft project into a masterpiece in mere seconds!
I also found a number of really neat 3-d paper stickers and a plan began to form in this web-diagram master-planning mind of mine for a craft that could be completed in a hurry and would look super-fabulous. Theoretically you could use this on any photo album, but I love the polished look of the bound Book-It (available at London Drugs in black or white).

What you will need:
- glue gun
- monogram stickers (if desired)
- 3-d paper stickers
- Washi Tape
- mini clothespins
Step 1:
Pick your Washi Tape and run a strip vertically about an inch and a half from the left-hand side of the book. Run a second strip perpendicular to the first about an inch and a half from the bottom all the way from the front opening to the back. See how easy this is? It looks like gift-wrapping! I found my tape didn’t stick perfectly to the book so I also added a dab of glue on the inside cover under the ends of the tape to make sure it would stay put.

P.S I had no idea London Drugs even carried Washi tape but if you poke around the stationary section you’ll find it!
Step 2:
Stickers! I found this beautiful sparkling monogram stickers and neat 3-d wrapped paper stickers that gave the book some nice dimension and sparkle.
Step 3:
Add a dab of glue to the back of your mini clothespin and adhere it to the front of your book near the top.
Step 4:
Have your excellent, intelligent, wonderful, beautiful Photolab technician print you 25 prints AND a collage print (probably 4 on a 4×6 sheet or 2×3 is the biggest you’d want to go – it fits perfectly in the clothespin on your book cover)
Step 5:
Revel in the glory of your own genius. You are SO crafty!

